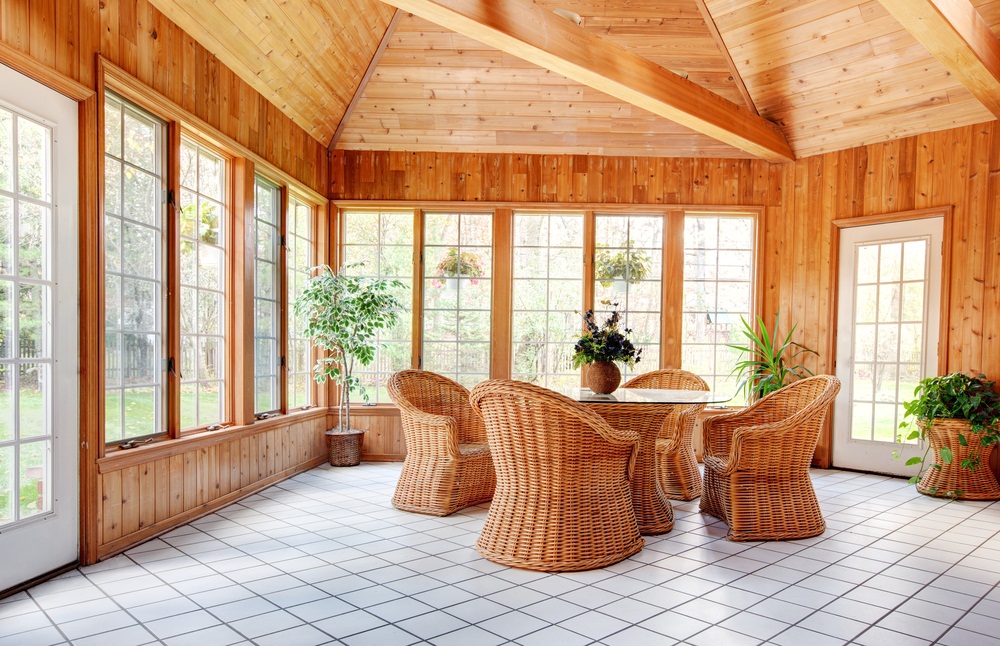
Crown moulding is considered an immensely substantial architectural accent used particularly for interior space detailing. It is the most meaningful way of bringing betterment in the overall beauty and appearance of almost every space inside any structure.
Crown moulding is broadly utilized to finish built-ins, cabinets and fireplaces and also helps significantly in creating and managing spaces between ceilings and walls.
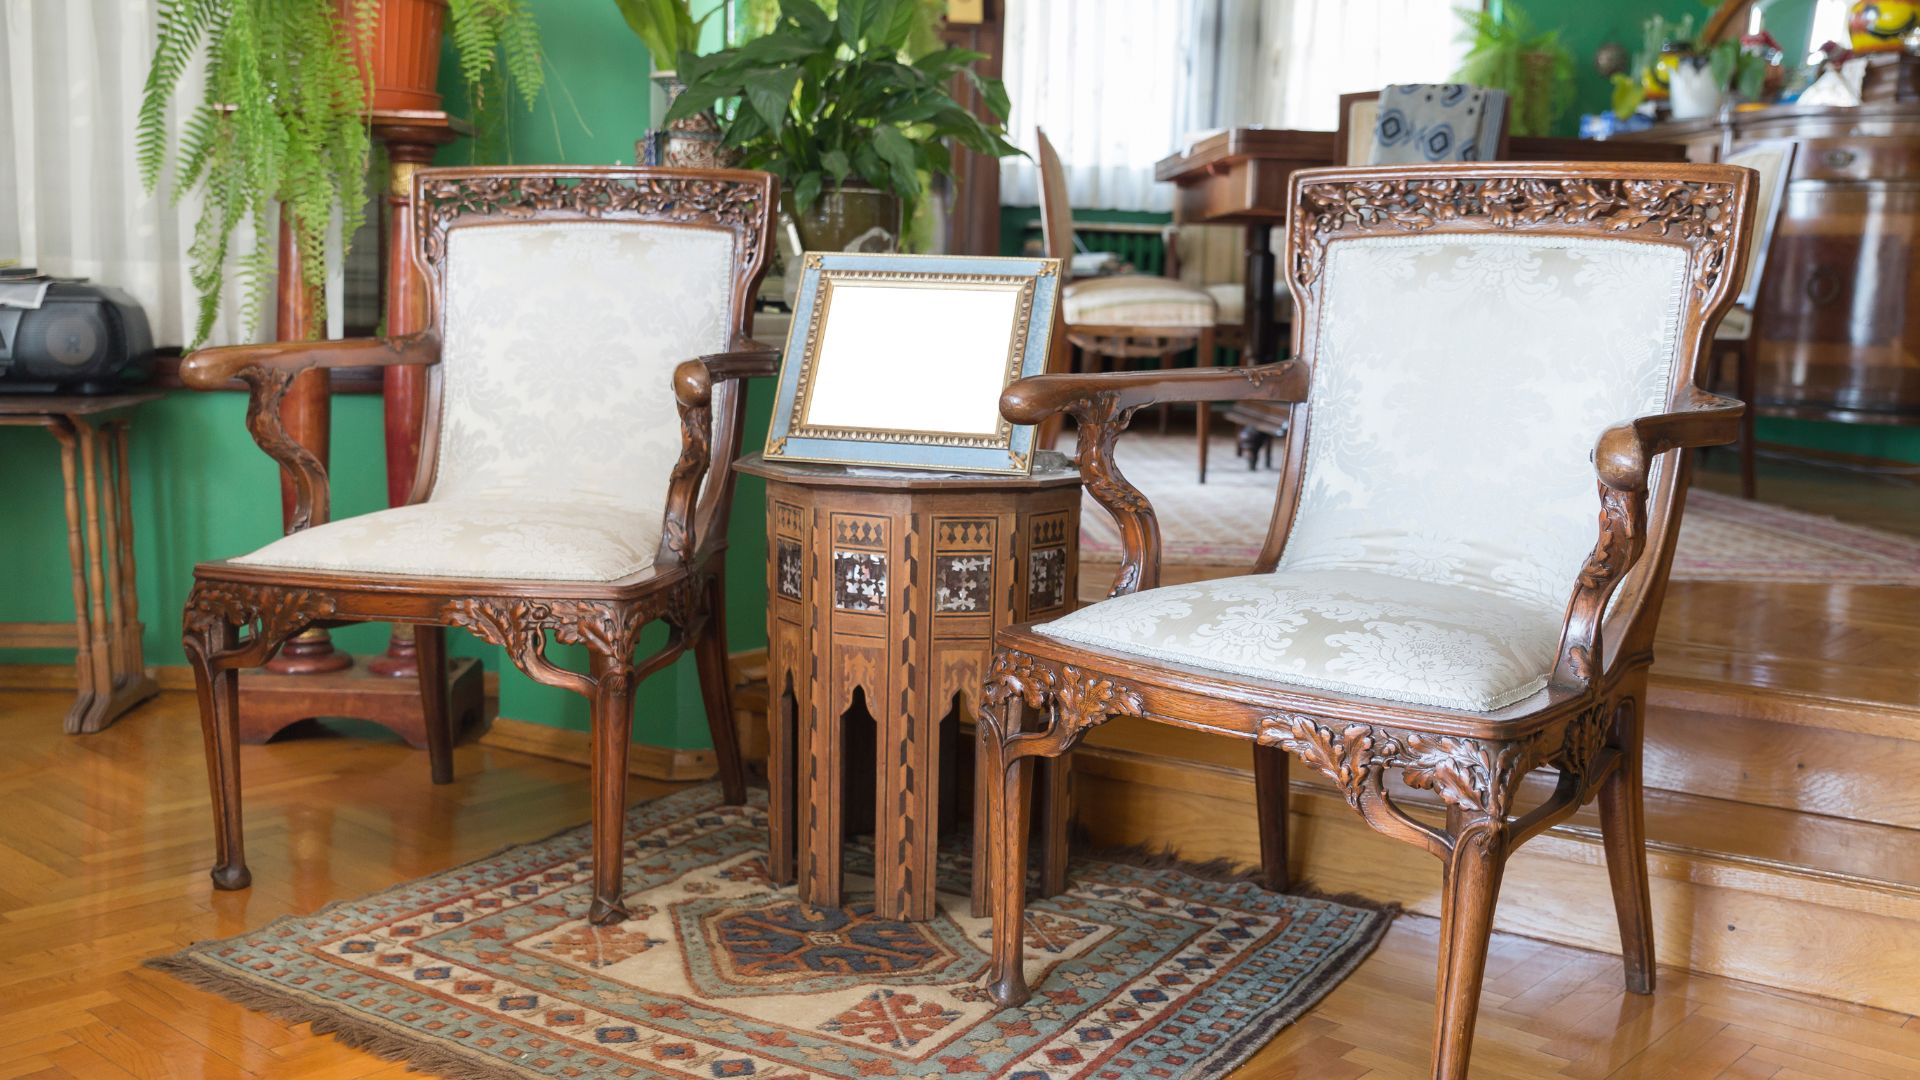
Installing crown molding cannot be considered an all-new concept as it has been in use for decades to reflect the particular space type and its specific purpose.
For example, people used to furnish their reception zone by making elaborate and ornate mouldings, while less decorative areas such as kitchens were left with plain crown mouldings.
As far as the installation of crown moulding is concerned, it is generally easy to set up things. However, you might require help from a professional in case the project is large and of a highly complex nature.
 Also Read: 5 Reasons To Love Plywood
Given Below are Some Steps To Help You Accomplish The Crown Molding Installation Job Perfectly:
1. Make a well-thought plan to avoid frustration and mistakes during installation.
2. As there are many crown mouldings out there, you need to be very specific on the size and style of mouldings you are likely to have.
3. The size you choose must match the ceiling height of the targeted space or area so that you can appropriately scale your casings.
4. To accomplish the job perfectly, you will require caulk, high-quality adhesives and fasteners apart from the mouldings. Make sure you have managed everything to keep around.
5. Assemble everything required in an open and functional area while ensuring you have all you need to do the job.
6. Draw a straight and solid line around the targeted space, followed by another line on the ceiling for accurate projection marking. Make use of these 2 lines for marking wall studs and the ceiling joists.
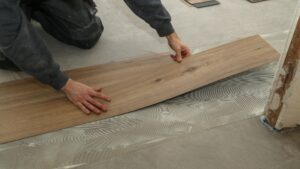
7. Now it’s time to begin the installation. The mouldings made from the best plywood for walls are oftentimes cropped at inside corners and lapped at straight joints.
8. After performing all the required things, let the adhesive dry for around 24 hours.
9. As part of the final finishing touch, fill up all holes while caulking the bottom and top. And lastly, paint everything using the color that you fall for. Now it’s time to show off your work to the world.
Also Read: Crown Molding: The Master Key to Cover Up Various Décor Flaws
Wrap Up
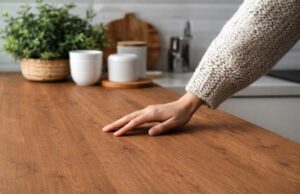
Crown mouldings made using plywood sourced from the best quality plywood in India are undoubtedly a great visual treat. They come in a comprehensive range of varieties and can be painted in a particular way or left natural too. They are the most significant medium of covering up flaws and adding grace, royalty and elegance to wherever you want.